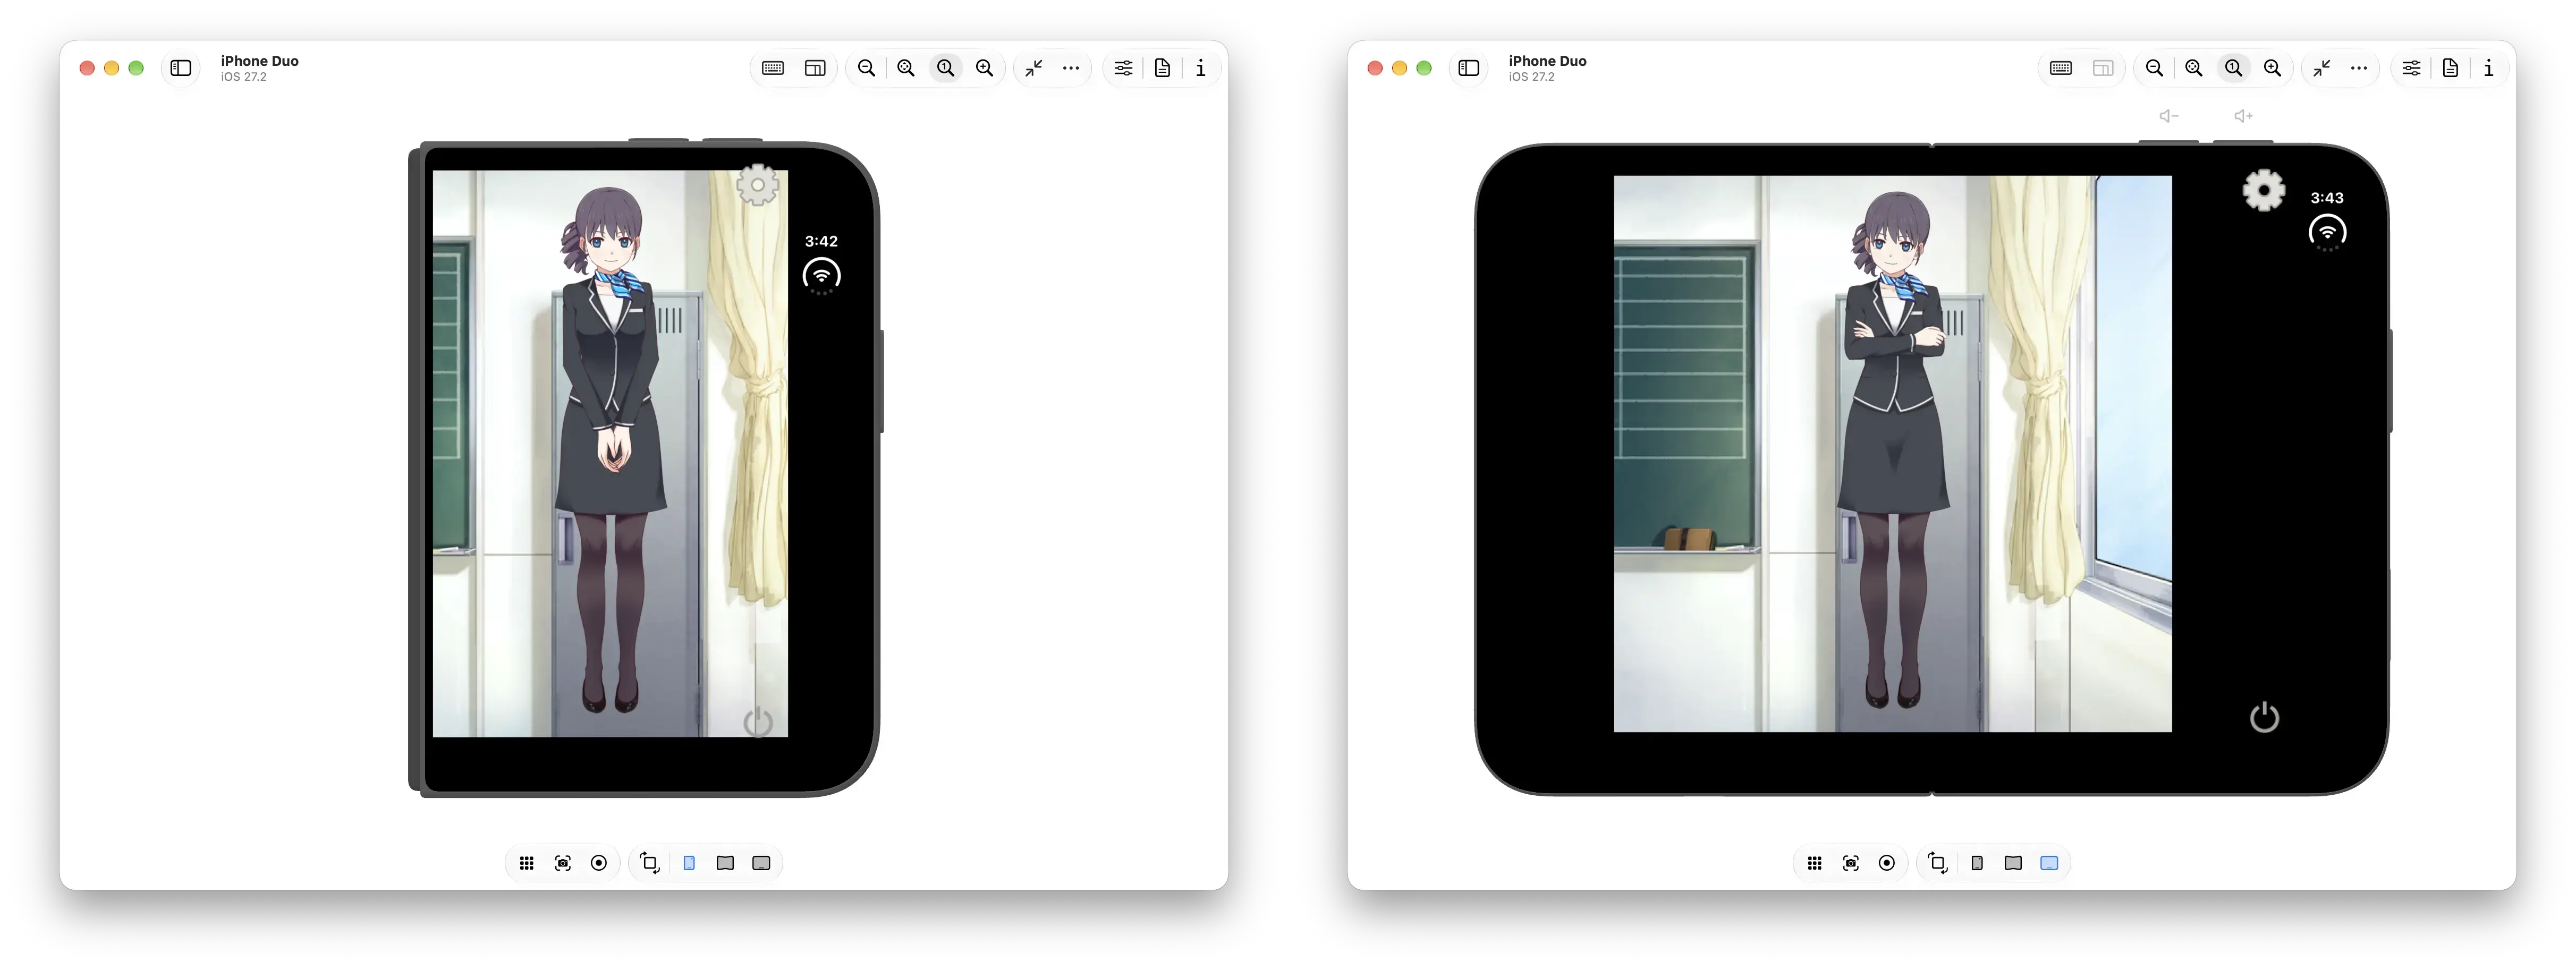
 Figure. Running the Live2D Demo App in the iOS simulator.
amiverse won't run in the iOS simulator
Since the iPhone Duo launched, App Store Connect started strongly suggesting — or rather, warning — developers to add screenshots for the iPhone Duo display. Since we don't have a physical device on hand, I recently revisited how to get amiverse running in the iOS simulator. This gave me a good chance to document how to use the Live2D Cubism SDK for Native and its official sample app to build an iOS app that runs in the simulator 🧑💻.
Live2D Cubism Core (Live2D's closed-source core library) provides separate versions for iOS devices and the simulator: iphoneos and iphonesimulator. Right now, the amiverse project only references the device version of the library, and the project build configuration was set up around it. As a result, it cannot be compiled directly for the iOS simulator.
The foundation of the amiverse app was built earlier, when I was first learning iOS development from scratch. At that time, I studied the iOS sample included in the Live2D Cubism SDK, manually rebuilt the Xcode project, selected the required files, and wrapped everything into a SwiftUI app. Because I was learning as I went, the project accumulated a lot of messy setup. On top of that, I had to deal with Objective-C, C++, and Swift integration at the same time, and Xcode kept showing warnings and build failures. In the end, considering the timeline and my skill level, I gave up on the simulator version and focused on the Live2D Cubism Core iphoneos library, relying fully on a physical iPhone for development. At this point, it became a technical debt. To save money, I didn't buy an iPhone Duo, so I had to spend some effort cleaning things up and revisiting this work 🫠.
Learning goals
The main goal of this post is to get the official sample running successfully. It's not just about dragging the Cubism SDK into a Swift project and calling it done. The Native SDK includes C++ frameworks, platform-specific core libraries, and Metal rendering code, and the official iOS sample generates an Xcode project using CMake. If we get the sample working first, it becomes much easier to know where the issues are when integrating it into your own app.
- Download the Live2D Cubism SDK and understand its components.
- Build the official sample Xcode project and run it on the iOS simulator.
- Discuss a few considerations for continuing development based on that sample.
How to build and run the official iOS sample
Step 1. Download and understand the Live2D Cubism SDK
You can find every version of the Live2D Cubism SDK on the official website. To download the SDK:
- Open the page and click the "Download Cubism SDK for Native" button.
- Read and accept the license and terms, then click "Download for the first time".
- Enter your email address, then click download.
- If you selected "Download for update" in the previous step, you won't be asked for an email and can download directly. Choose the option that matches your situation.
ℹ️ If you plan to sell your product, read the Software License Agreement and the SDK Release License (Publication License Agreement) carefully. Make sure your product falls within the allowed distribution scope.
The Cubism SDK for Native is mainly built in C++ and is used to create cross-platform Live2D applications. The Native SDK requires developers to write code to design the features and UI. If you want a more visual way to design the app, the Cubism SDK for Unity (Unity SDK) may be the better choice. The Unity SDK lets developers use Live2D features through the Unity game engine and editor, with a more intuitive drag-and-drop workflow. In addition, if you already use Unity, you can also use the Unity Asset Store and other game media assets to speed up development. If you're unsure which choice to make, check the official flowchart (Unity? Native? SDK Selection Flowchart) and compare your options.
ℹ️ Personally, I think if you want cross-platform support and a smoother editing workflow, the Unity SDK is the better option.
After downloading, you will get a zip file such as CubismSdkForNative-5-r.5. Unzip it and you will see a structure similar to this:
.
├── Core
│   ├── dll
│   ├── include
│   └── lib
├── Framework
│   └── src
└── Samples
    ├── Common
    ├── D3D11
    ├── D3D9
    ├── Metal
    │   ├── Demo
    │   └── thirdParty
    ├── OpenGL
    ├── Resources
    └── Vulkan
The folder structure is broadly divided into three parts: Core, Framework, and Samples. These correspond to how a Cubism application is assembled:
- Core: Live2D's closed-source core library, responsible for parsing
.moc3model files, vertex calculations, alpha blending, and other low-level operations. - Framework: Open-source C++ framework responsible for parsing and processing model data, motion and physics calculations, and related logic.
- Application: Connects the pieces above and handles runtime execution and GPU rendering. Different platforms or GPU APIs use different implementations, such as Direct3D on Windows, Metal on iOS, or Vulkan for cross-platform support.
 Figure. Cubism Core API relationship diagram. Adapted from Cubism Core API Reference.
Step 2. Generate the Xcode project
In this guide, we use the official sample based on Metal. You can find the source code under the Samples/Metal folder. First, install Xcode and make sure the Xcode Command Line Tools are configured. This sample also requires CMake. If you're using Homebrew, run:
brew install cmake
The official Metal sample uses ios-cmake to generate the iOS project. The sample includes an installation script. Run it from the project root:
./Samples/Metal/thirdParty/scripts/setup_ios_cmake
ℹ️ This script basically downloads a specific version of
ios-cmakefrom GitHub. You can also go to GitHub leetal/ios-cmake, download it, extract it, rename it toios-cmake, and place it under./Samples/Metal/thirdParty.
Once you have CMake and ios-cmake, run the sample's Xcode project generation script:
./Samples/Metal/Demo/proj.ios.cmake/scripts/proj_xcode
Your terminal will list the platform options:
1) iphoneOS (arm64)             3) iphoneOS Simulator (x86_64)
2) iphoneOS Simulator (arm64)   4) Mac Catalyst
Select the platform number to use: 2
To run it on an iPhone or iPad device, choose iphoneOS (arm64). To run it on the simulator, Apple Silicon Macs typically choose iphoneOS Simulator (arm64), while Intel Macs choose iphoneOS Simulator (x86_64).
After the script completes, the Xcode project will be generated under Samples/Metal/Demo/proj.ios.cmake/build/, with the folder name depending on the selected platform.
ℹ️ If running proj_xcode throws an error similar to: "error: The iOS Simulator deployment target 'IPHONEOS_DEPLOYMENT_TARGET' is set to 13.0, but the range of supported deployment target versions is 15.0 to 27.2.x.", try this:
- Download
ios-cmake4.6.1 from leetal/ios-cmake. - Unzip it and move the folder to
./Samples/Metal/thirdParty/ios-cmake. - Delete the leftover build output:
Samples/Metal/Demo/proj.ios.cmake/build. - Run
proj_xcodeagain.
The folder structure should look like this:
Samples/Metal
├── Demo
│   └── proj.ios.cmake
│       ├── CMakeLists.txt
│       ├── build             // delete everything before running proj_xcode
│       ├── scripts
│       └── ...
└── thirdParty
    ├── ios-cmake               // downloaded ios-cmake
    │   ├── LICENSE.md
    │   ├── README.md
    │   ├── example
    │   └── ios.toolchain.cmake
    ├── scripts
    │   └── setup_ios_cmake
    └── stb
In my own testing, the ios-cmake downloaded from GitHub version 4.6 worked correctly, but the one downloaded by setup_ios_cmake failed. I thought it was worth sharing in case it helps someone else.
Step 3. Build and run the app in Xcode
Open the generated Demo.xcodeproj (for example, .../build/proj_xcode_iphonesimulator_arm64/Demo.xcodeproj):
- Open
Demo.xcodeprojin Xcode. - In the toolbar, select the
Demoscheme, then choose the iOS simulator you want to use, such as iPhone Duo. - Once the target is selected, press Run (or use
⌘R). - The official sample includes switchable demo models. If the model loads properly and plays animations, it means the Xcode project, Core library, Framework, and Metal sample are all connected correctly.
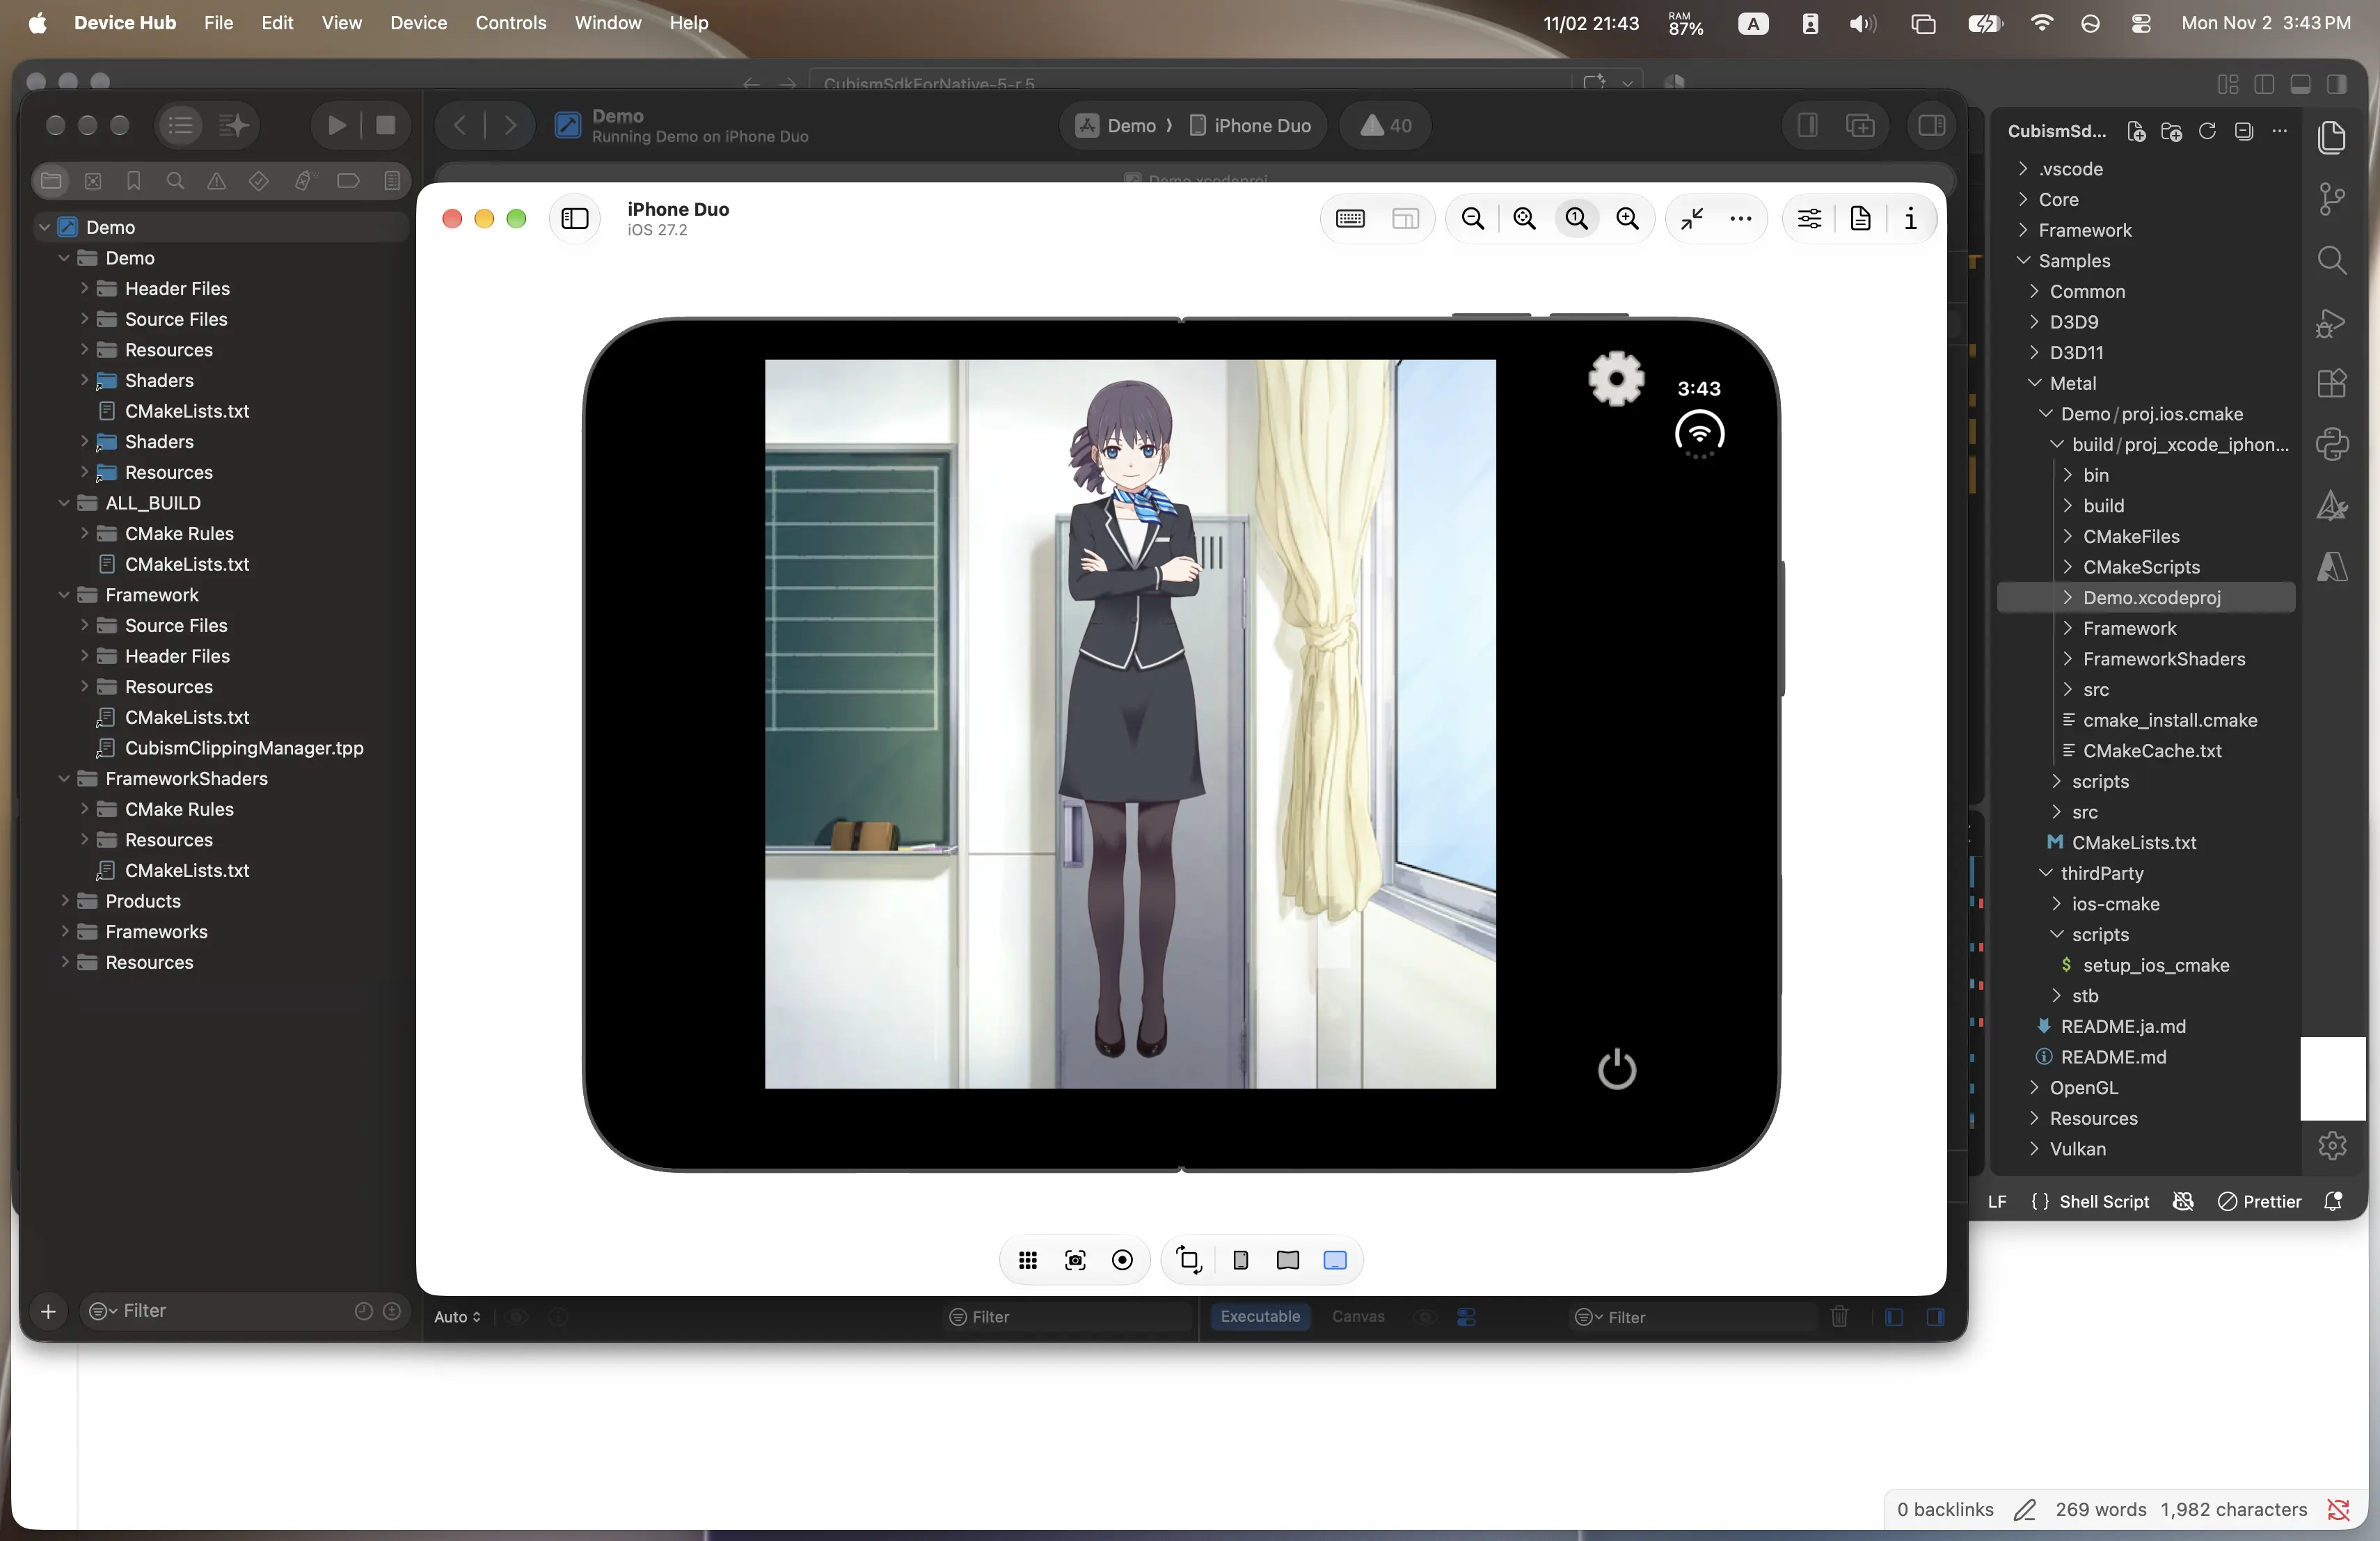 Figure. Xcode settings and the Live2D Native Demo App running in the iOS simulator.
Things to consider before continuing development: cleaning up the Xcode project and packaging it as SwiftUI
The official sample is great for confirming whether things work. But using it directly as the foundation for your own app creates several project-management issues...
Resource loading paths
The sample reads files from a fixed Resources location by default. Once you integrate it into your own app, you need to ensure the model files are actually bundled into the app (or downloaded from another location) and that the loader is using the correct path. If your app downloads models dynamically or supports interchangeable assets, this should be designed early.
The CMake-generated Xcode project is a build artifact, not part of the source code
Demo.xcodeproj is generated by the script. Any settings you change in it will be overwritten the next time you run proj_xcode. Also, the Demo project contains a large amount of content generated by CMake, and it can be difficult to maintain in Xcode. In my own tests, I often found that setting some options would cause Xcode to freeze or malfunction.
To make future development easier to maintain, my approach is to study the Demo project's configuration and structure, then rebuild the Core, Framework, and app example files into a more conventional structure. I also recreate the Xcode project, keeping only what is actually needed.
Of course, another option is to maintain the existing CMake setup. Although the build process and Xcode project settings are mixed together, you won't need to reverse-engineer Xcode from scratch.
Use a Swift bridge to separate C++ from Objective-C
I believe most students learning iOS development today are using Swift and SwiftUI. Unless there is a very specific requirement, most people are not deeply familiar with the traditional Obj-C/UIKit app flow or C++ code.
The sample code provided by the Native SDK is written using the traditional ObjC + UIKit structure. If you want future development to be easier, consider creating a bridging interface that wraps the Live2D view controller and then configure and call it from Swift. You can also rewrite higher-level model operations—such as loading a model, playing motion, and applying expressions—in Swift for cleaner future maintenance and to keep the C++ code in the Cubism Framework isolated.
This way, if the underlying Live2D layer needs an upgrade or adjustment later, the impact can be contained.
That said, this sounds simple but is actually quite time-consuming. I hope to share more on how amiverse handles this in the future 🫠.
Closing thoughts
The first step in using Cubism Native SDK is to organize the messy code and get everything working. Start by using the official sample to confirm it actually runs, then try loading your own model, and only after that should you think about restructuring it into a cleaner SwiftUI-based app. Looking back at how amiverse was originally built, unless you specifically enjoy native iOS UI development, I think a new app should probably consider using the Cubism Unity SDK instead—it is faster and more artist-friendly 🤪.
Overall, I hope this recap helps developers working with Live2D and iOS avoid a few of the common pitfalls. If you are also building an iOS app with Cubism Native SDK or running into strange issues during setup, feel free to reach out on Threads / 脆 and connect. You can also download the amiverse app to see the results of these technical debts in action.
Thank you.
References
- Live2D Inc. (n.d.). Cubism Native Framework [Source code]. GitHub.
- Live2D Inc. (n.d.). Cubism Native Samples [Source code]. GitHub.
- Live2D Inc. (n.d.). Live2D Cubism SDK. Live2D Cubism.
- Live2D Inc. (n.d.). Cubism SDK manual. Live2D Manuals & Tutorials.
- Live2D Inc. (n.d.). Live2D Cubism SDK tutorials. Live2D Manuals & Tutorials.
- Live2D Inc. (n.d.). Cubism Core API reference. Live2D Manuals & Tutorials.
- Live2D Inc. (n.d.). Comparison of Cubism SDKs. Live2D Manuals & Tutorials.
- Live2D Inc. (n.d.). Unity? Native? SDK selection flowchart. Live2D Manuals & Tutorials.